Brodit holder fixed install. Zebra TC20/TC25 PowerPack

article number
713029
In stock
€111.95
-
+
Details
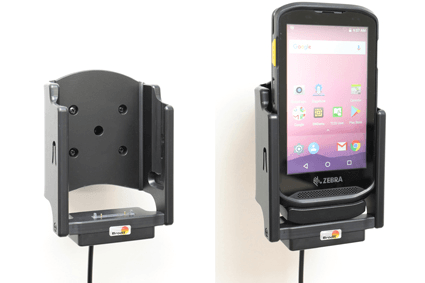
An active holder which is to be connected inside the dashboard, this gives a discreet, neat installation without cables hanging over the interior!  Customized holder with a perfect, firm fit for device with Powerbank BTRY-TC2X-PRPK1-01. Always keep your battery fully charged with this active holder for fixed installation.
 
You can choose to use the holder as an active holder for charging of your device only, or to connect an adapter to the Molex connector for additional features. Then you can use the holder also for power supply of a GPS receiver or other own solutions (can not be used for data communication or audio connection).  
 
12/24 Volt. The product is E-approved. Connect the power cable with a 2 A fuse. 2 A charger.  Professional installation recommended. The holders are equipped with a tilt swivel so you can easily adjust the angle of your device for better viewing. Tilts 20° and swivels 360°. Made of high grade ABS/Acetal plastic. AMPS holes. Color: black. Made in Sweden. Attach onto a ProClip Mounting Platform or a Pedestal Mount.
More Information
More Information
Accessory brand Brodit
Barcode 7320287130294
Recommended retail price incl. VAT 111.95
Device holder type PDA holder
Connection Fixed installation
Device holder features Device specific
Color Black
Voltage 12/24V geschikt
Device holder lockable? no
Easy switching system Ja
Productinfo Brodit houder
Reviews
Write Your Own Review
You're reviewing:Brodit holder fixed install. Zebra TC20/TC25 PowerPack
Compatibility
Instruction
Please read all of the instructions and look at the pictures before attaching the holder. Important Note: The charger unit is fused internally with 2 A automotive re-settable thermal fuse, but if an external fuse is to be installed then connect a 2 A fuse holder and fuse inline with the Red wire close to the power source. Route the cable from the holder into the vehicle dashboard and secure the charger unit in place. Ensure the charger unit is securely mounted behind the dashboard in a well ventilated area that does not get hot! Route the power cable from the charger unit to the power supply source in the vehicle and connect as follows: 1. Connect the White wire to a Negative Ground connection of the vehicle or the vehicle chassis.
2. Connect the Red wire to a 12 Volt power supply in the vehicle that is controlled by the ignition switch of the vehicle.
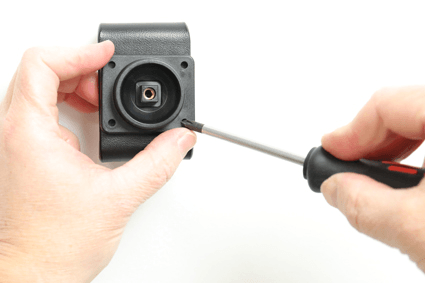
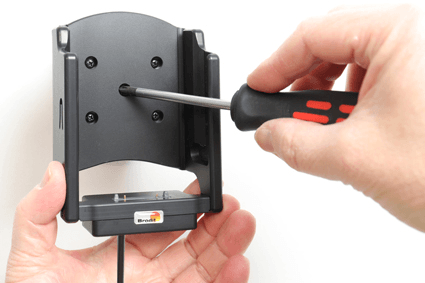
Installation of the holder: 1. Loosen the screw in the center of the holder so you can remove the tilt swivel attaching plate on the back. 2. Place the attaching plate onto the desired position. Screw the attaching plate into place with the enclosed screws.
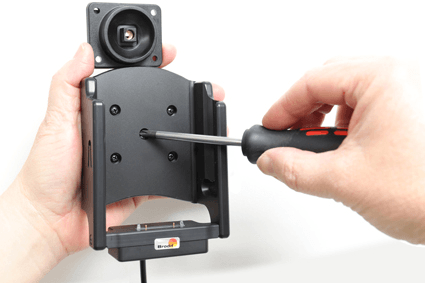
3. Place the holder over the attaching plate so the screw fits in the hole in the tilt swivel. Tighten the screw until the holder is firmly in place, but still can be adjusted.
4. The holder is in place.

Scroll to top