


We use cookies to make your experience better. To comply with the new e-Privacy directive, we need to ask for your consent to set the cookies. Learn more.
 PDAplus English

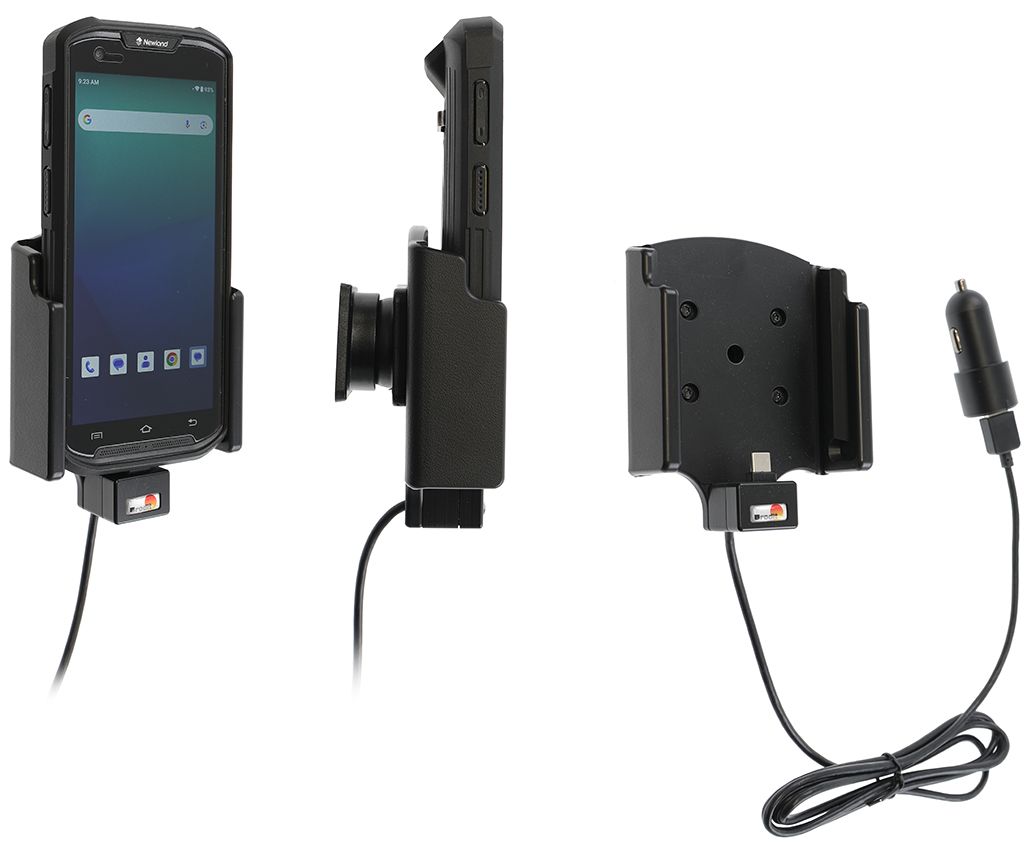
| Accessory brand | Brodit |
|---|---|
| Barcode | 7320287214178 |
| Recommended retail price incl. VAT | 143.95 |
| Device with or without cover | ja |
| holder characteristic | Toestelspecifiek |
| Cable / Qi / charger type / connnector | usbC + Sig plug |
| Toestel connector | usbC |
| Input Voltage | 12/24V geschikt |
| Voltage (output) | QC - QuickCharge |
| Max Amperage | 3,0 Amp |
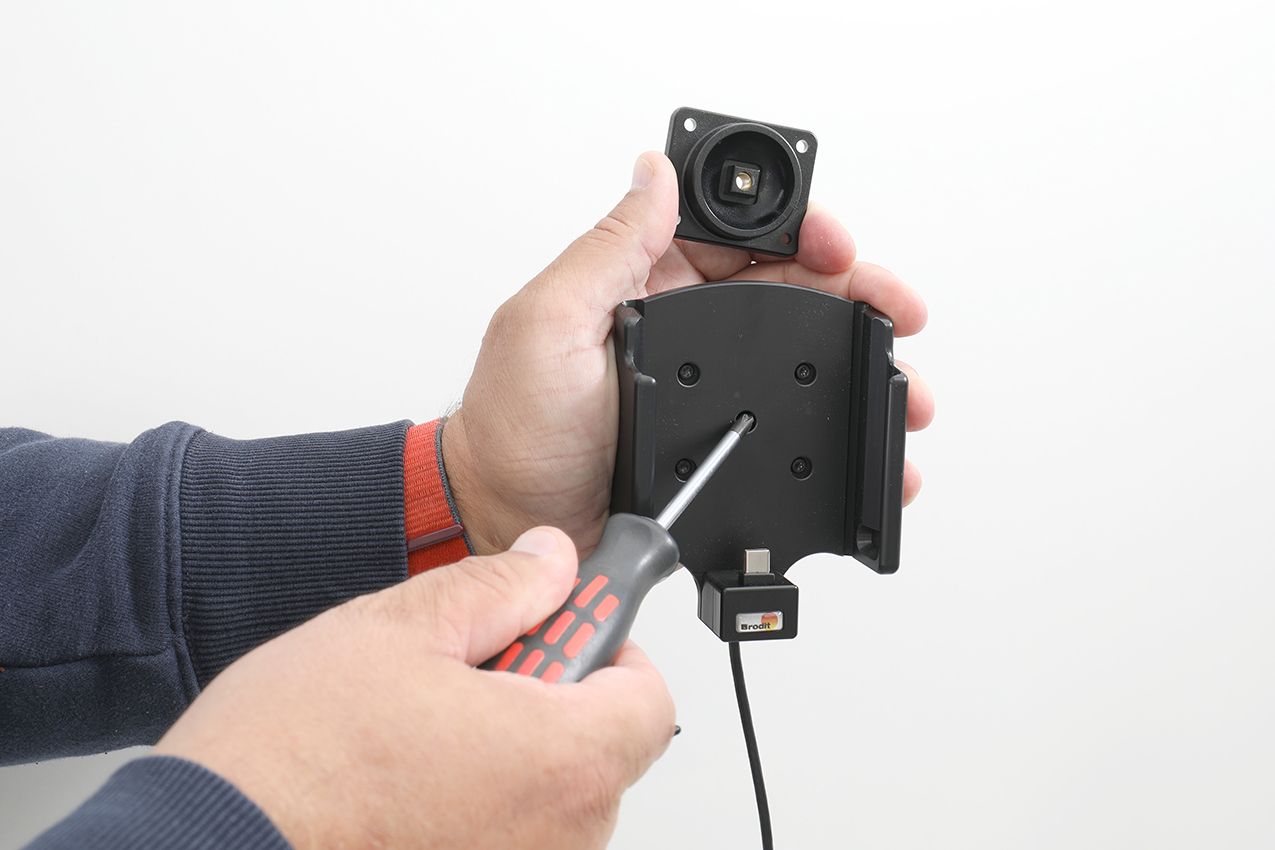
| Montage standaard | AMPS |
| Device holder lockable? | no |
| Color | black |
| Productinfo | Brodit houder |


