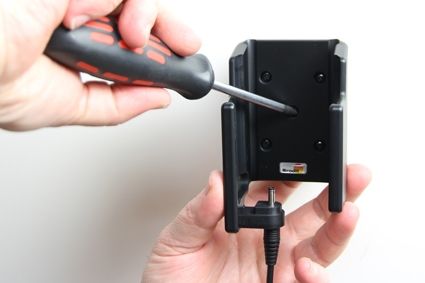


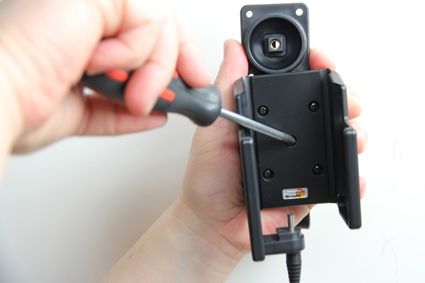
1. Loosen the screw in the center of the holder so you can remove the tilt swivel attaching plate on the back.
 PDAplus English

| Accessory brand | Brodit |
|---|---|
| Barcode | 7320285139527 |
| Recommended retail price incl. VAT | 101.95 |
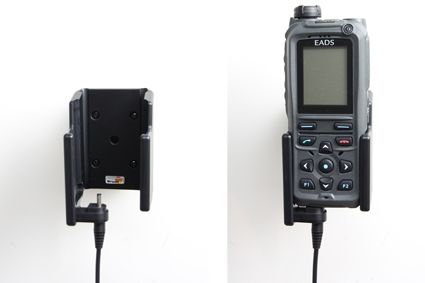
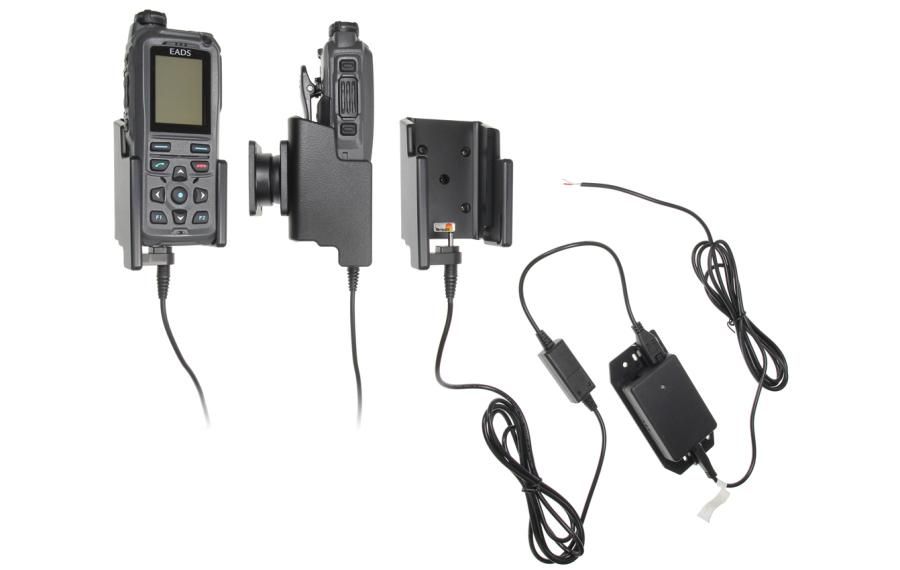
| Device holder type | 2-way radio |
| Connection | Fixed installation |
| Device holder features | Device specific |
| Color | Black |
| Voltage | 12/24V geschikt |
| Device holder lockable? | no |
| Productinfo | Brodit houder |
| Product installation | Mount the holder on a ProClip in your vehicle. A detailed installation manual is included in the product packaging |
| Product suitable for | Brodit houder |